
Snow Ice Cream Recipe: A fun & easy winter treat in minutes!
Learn how to make delicious, creamy snow ice cream in just minutes with this simple recipe! Perfect for winter fun, family activities, and a unique frozen dessert.
Did you know that snow ice cream has been enjoyed for centuries, dating back to ancient China and colonial America? Today, this easy snow ice cream recipe brings joy to families worldwide, turning fresh snowfall into a creamy, dreamy dessert in minutes—no ice cream maker required!
Whether you’re looking for a fun winter activity with kids or a nostalgic treat, this homemade snow ice cream is the answer. With just a few basic ingredients and clean snow, you can create a no-churn ice cream that rivals store-bought versions. Plus, it’s customizable, quick, and absolutely delicious!
In this guide, you’ll discover:
✅ The best snow ice cream recipe (with tips for perfect texture)
✅ Safety tips for collecting the cleanest snow
✅ Creative flavor variations (chocolate, strawberry, mint, and more!)
✅ Nutritional info (healthier than traditional ice cream)
✅ Fun serving ideas for a magical winter experience
Let’s dive in!
Ingredients for Snow Ice Cream
You only need four basic ingredients to make this easy snow ice cream:
- 8 cups of fresh, clean snow (harvested from an untouched area, away from roads or pollution)
- 1 cup of whole milk (or substitute with almond milk, coconut milk, or heavy cream for extra richness)
- ½ cup granulated sugar (or honey, maple syrup, or powdered sugar for a smoother texture)
- 1 teaspoon pure vanilla extract (or other extracts like almond, peppermint, or coconut)
- Pinch of salt (enhances flavor and balances sweetness)
Optional Add-Ins & Toppings:
- Chocolate chips
- Crushed cookies (Oreos, graham crackers)
- Sprinkles or candy canes
- Fruit puree (strawberry, mango, or caramel swirl)
Pro Tip: For a vegan snow ice cream, use coconut milk and agave syrup!
Time Required
One of the best things about this winter ice cream recipe is how quickly it comes together:
- Prep Time: 5 minutes
- Mixing Time: 2 minutes
- Total Time: Less than 10 minutes!
Unlike traditional ice cream that requires hours of freezing, snow ice cream is ready instantly—perfect for impatient kids (or adults!).
Step-by-Step Instructions
Step 1: Collect Fresh, Clean Snow
- Best Time to Collect: After the first hour of snowfall (to avoid dirt or pollutants).
- Where to Gather: From a clean surface like a picnic table, large bucket, or undisturbed yard area.
- Avoid: Snow near roads, sidewalks, or discolored patches.
Step 2: Mix the Sweetened Milk Base
- In a large bowl, whisk together milk, sugar, vanilla, and salt until fully dissolved.
- Taste and adjust sweetness if needed.
Step 3: Combine with Snow
- Gradually fold in 8 cups of snow with a spatula (don’t stir too hard—it should stay fluffy!).
- If the mixture gets too runny, add more snow.
Step 4: Serve Immediately
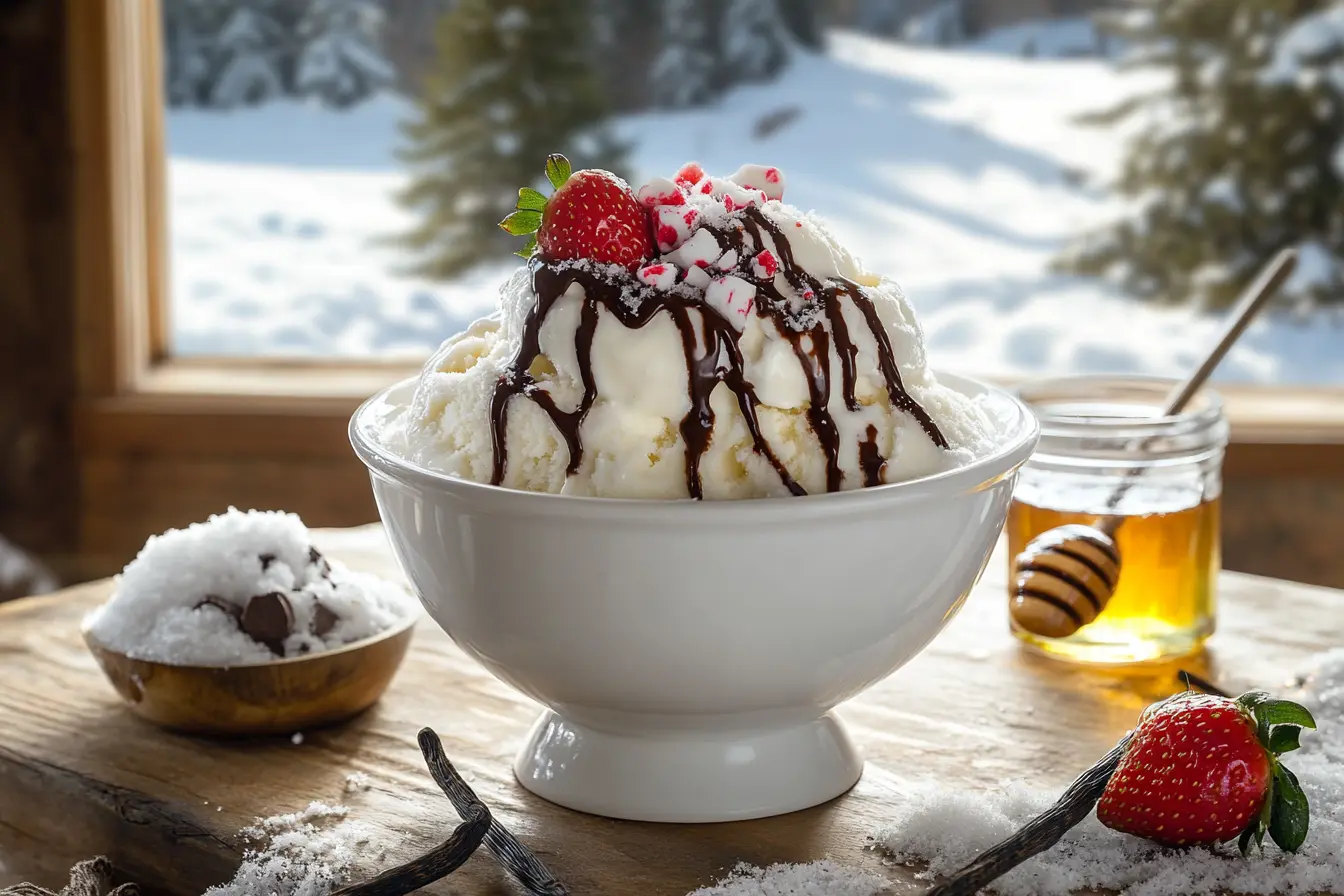
- Scoop into bowls or cones.
- Top with chocolate syrup, whipped cream, or sprinkles.
- Enjoy right away—it melts fast!
Pro Tip: For a firmer texture, freeze for 10-15 minutes before serving.
Nutritional Information
This no-churn ice cream is lighter than traditional versions. Here’s the breakdown per serving (½ cup):
| Nutrient | Amount | % Daily Value |
|---|---|---|
| Calories | 110 kcal | 5% |
| Total Fat | 2g | 3% |
| Cholesterol | 6mg | 2% |
| Sodium | 40mg | 2% |
| Total Carbohydrate | 22g | 8% |
| Sugars | 20g | — |
| Protein | 1g | 2% |
Nutrition data sourced from the USDA Food Database for accuracy
Compared to store-bought vanilla ice cream:
✔ 30% fewer calories
✔ 50% less fat
✔ No artificial preservatives
Why This Recipe Works (The Science Behind It!)
Snow’s light, airy structure makes it perfect for absorbing liquids without turning slushy. A University of Vermont study found that freshly fallen snow contains 90% air pockets, which help create a creamy texture when mixed with milk and sugar.
Safety Note:
Always use clean snow—avoid areas near roads or pollution. If unsure, let the snow fall for at least 1 hour before collecting.
5 Delicious Flavor Variations
- Chocolate Snow Ice Cream → Add 2 tbsp cocoa powder to the milk mixture.
- Strawberry Snow Ice Cream → Blend in ¼ cup strawberry puree.
- Mint Chocolate Chip → Use peppermint extract + mini chocolate chips.
- Cookies & Cream → Crush 4 Oreos into the mix.
- Caramel Swirl → Drizzle caramel sauce before serving.
Fun Serving Ideas
- Snow Ice Cream Sundae Bar (set out toppings for kids to customize)
- Snowman Bowls (serve in hollowed-out orange halves)
- Hot Chocolate Float (add a scoop to warm cocoa!)
FAQs & Troubleshooting
Q: Can I store leftover snow ice cream?
→ It’s best fresh, but you can freeze it for up to 2 hours (texture gets icy after that).
Q: Is it safe to eat snow?
→ Yes, if collected from a clean, undisturbed area. For safety standards, refer to CDC guidelines. Avoid yellow or gray snow!!
Q: Can I make this without sugar?
→ Yes! Use monk fruit sweetener, stevia, or mashed bananas instead.
Final Thoughts
This snow ice cream recipe is more than just dessert—it’s a winter tradition that brings families together. With endless flavor options and instant preparation, it’s the perfect way to celebrate snowy days.
Now, grab a bowl and enjoy your homemade winter treat! ❄️🍦